
Fermented Mushrooms: The Forgotten Eastern European Delicacy You’ve Never Truly Tasted
In the heart of Eastern Europe, long before convenience foods and white vinegar took over the pantry, there was a humble, deeply flavorful dish that graced nearly every celebration table: fermented mushrooms. These were not the overly tangy, puckering vinegar-soaked mushrooms you find on grocery store shelves today. No — this was a living, probiotic-rich preparation, handcrafted by babushkas and grandmothers, passed down through generations with care, intuition, and salt.
Growing up in a Ukrainian household, fermented foods were more than just sides — they were medicine, ritual, and tradition. But somewhere along the way, the true fermented mushroom — the kind that sits in its own salty brine, releases earthy juices, and transforms into a meaty, umami-packed delicacy — got lost. Replaced by shortcuts. Forgotten.
Most people today think of pickled mushrooms and picture slippery button caps drenched in white vinegar, sharp enough to strip paint. But that’s not what we grew up with. Our version is naturally fermented — slow, wild, and soul-nourishing. It’s a recipe that captures the forest in a jar. Earthy, briny, aromatic with dill, garlic, and onion… a cold plate that hits you with flavor, texture, and nostalgia in every bite.
This dish was once a staple at Easter, weddings, and Sunday feasts. It was scooped onto small plates, eaten alongside rye bread and potatoes, or offered to guests with shots of vodka and warm toasts. It’s the kind of dish that tells stories.
And now, it’s time to bring it back.
This is my version of the old-school fermented mushroom recipe — with a clean two-step fermentation method. No vinegar, no preservatives, and no shortcuts. Just salt, mushrooms, garlic, herbs, and time. It’s not just a side dish — it’s a tribute to our roots, and a reminder that flavor and tradition don’t need to be rushed.
Let’s make fermented mushrooms the star of the table again.
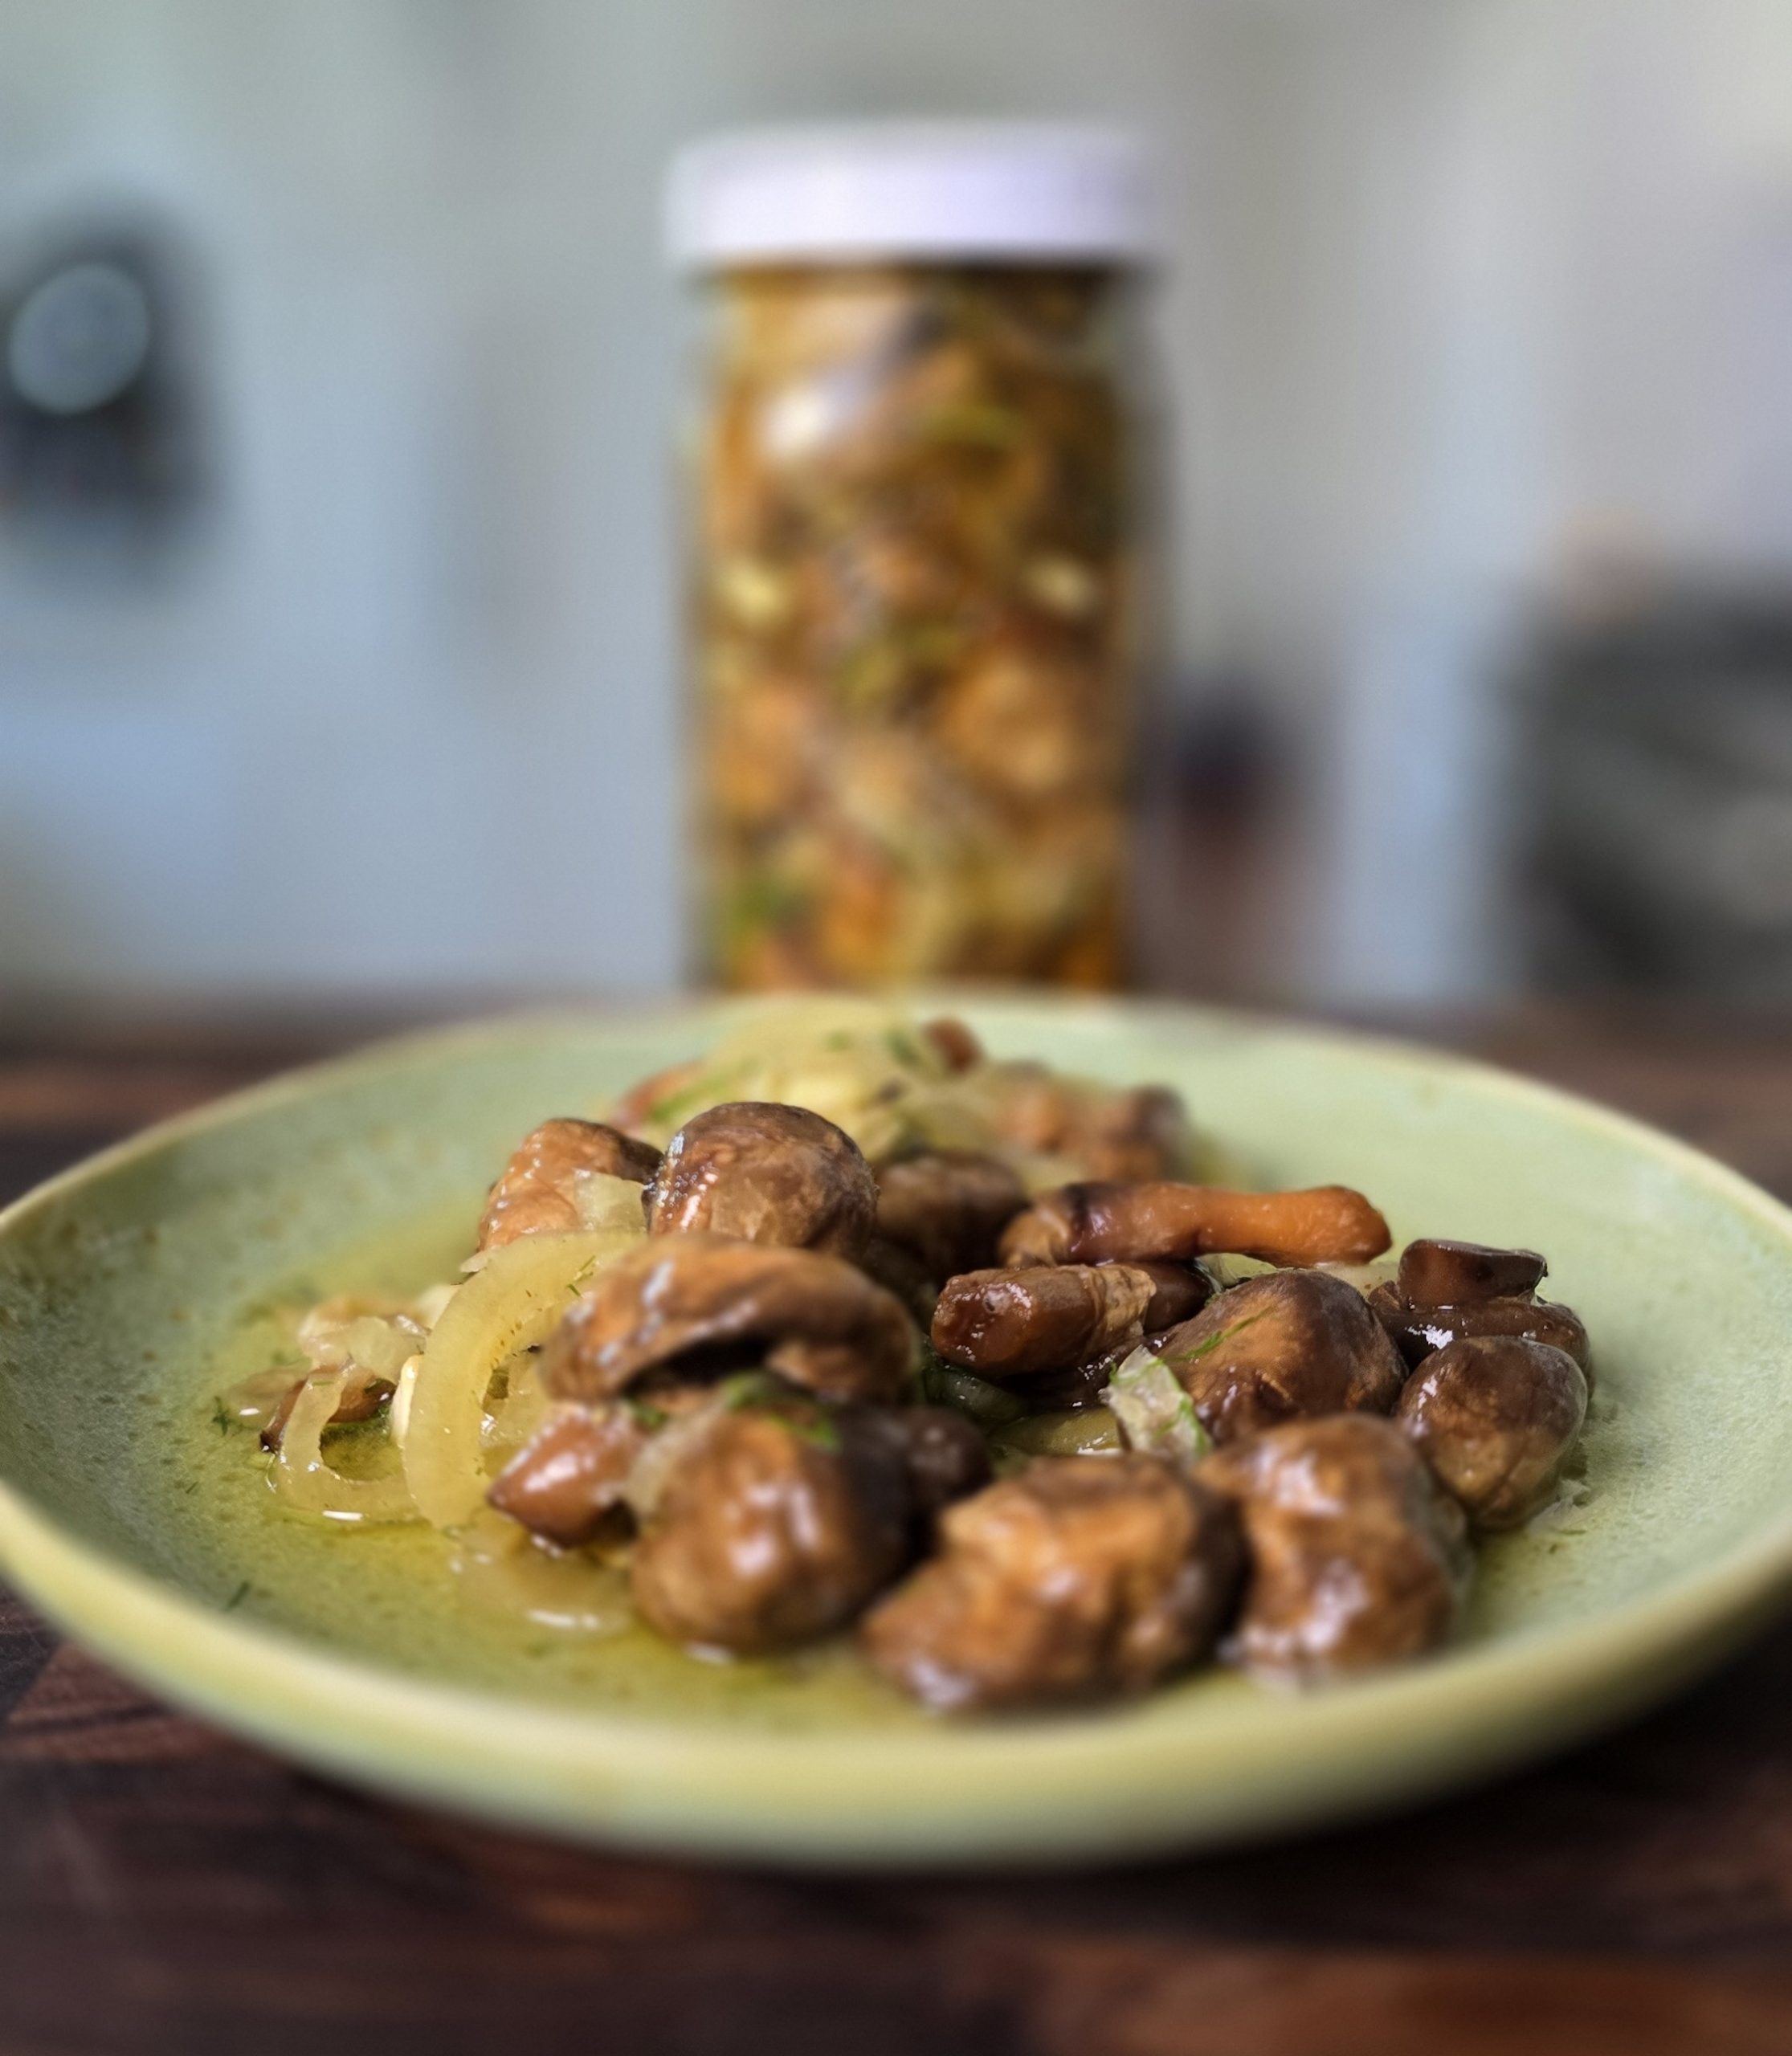
Fermented Mushrooms: The Forgotten Eastern European Delicacy You’ve Never Truly Tasted
Ingredients
- 1-2 lbs Mushrooms
- Natural sea salt (~0.5 tsp per layer)
- Optional: bay leaves, grape leaves, celery leaves
- Fermented mushrooms (from Step 1, drained)
- 1 small onion, thinly sliced
- 3-4 cloves white onion, thinly sliced
- 3-4 tbsp Fresh dill chopped
- 2-3 tbsp olive oil
- Optional: splash of filtered water to reduce saltiness
Method
- Clean Mushrooms: Rinse mushrooms well and trim stems if needed.

- Layering: Place a bay leaf or grape leaf at the bottom (optional).

- Add Mushrooms in Layers: After each layer, sprinkle ~1/2 tsp salt.

- Press Down: Gently press mushrooms without breaking them.

- Weight + Cover: Place fermentation weight on top. Cover with lid or cloth.

- Ferment: Leave at room temperature for 3–5 days (cooler = longer).

- Tip: Mushrooms will release a lot of liquid and should be fully submerged in their own brine by day 2. If not, press them again or add a tiny splash of filtered water.


- Drain Mushrooms: Remove from brine and gently press out excess liquid.

- Pack in Layers: In a clean jar, layer mushrooms, onion, garlic, and dill.

- Top Off: Add 2–3 tbsp olive oil + splash of filtered water if needed.

- Fridge Cure: Let sit in fridge 12–24 hours for full flavor.

- Taste & Adjust: If too salty, add filtered water and wait another 12 hours.


8 Responses
Well worth the time spent making this recipe. Tasted great! I wasn’t sure whether to add water at the second stage! So I did add water to cover ! I’m making my second batch now ! With garlic this time ! As the ingredients list states cloves of onion! So we added chopped white parts of green onions as the sliced onion
I’m adding a sliced red chilli too
Hello, thank you for the heartwarming description. History of your fabulous looking fermented mushroom recipe. I’m excited to do this. It will be the first fermented food item I have attempted. I do notice in your videos as I’ve seen maybe three that you throw some white powder at the beginning of rinsing off the food you are going to ferment. I imagine that’s a handful of salt? You do mention in your recipe to put one Bayleaf at the bottom yet I noticed you have used grape leaves that seem to be throughout the layers of your jar. May I do the same with the Bayleaf? Once you Drain the mushrooms of their brine is that Brian something one can drink? Or besides maybe being able to drink it as a health drink? One could use that Brian to begin pickling something else like cabbage? Or must to be thrown out? Once you layer the mushrooms with the onions and the garlic cloves is it OK to smash the garlic cloves first as I understand waiting 15 minutes after smashing them it releases more of the healthy substances… once the onions and the garlic go in with of course the olive oil and a splash of filtered water, is it OK to gently turn the jar a little bit here and there over the next 12 or 24 hours. Not understanding the fermentation process. I was wondering, how long can these mushrooms be kept in the refrigerator.
Thank you, and congrats on your first ferment. To go through your questions: the white powder in the wash is usually baking soda, which helps clean things up before rinsing. Bay leaves can go between the layers just like the grape leaves. The Step 1 mushroom brine is very salty, so I don’t drink it and I don’t reuse it. Every ferment starts fresh. Smashing the garlic is fine. Turning the jar gently during the fridge cure is fine too, it just helps the oil and aromatics spread. They keep 2 to 3 weeks in the fridge.
Oh, lol, I see, you do say consume within 2 to 3 weeks… That was a little further down… As I thought the recipe was done describing… I was wondering that last step of flavoring for me to the mushrooms if one could add capers with the garlic and onions? Although capers are already for amended I imagine they give us subtle flavor and seem like they might be tasty alongside the mushrooms. Thank you so much for your fabulous recipes. I look forward to trying so many it will be a sort of celebration when we get done remodeling and fixing our home which has sort of left us without full access to our kitchen over three years, but we are patient people and still managed to enjoy cooking delicious meals on the smallest amount of space. Take care and have a blessed day thank you.🕊️✨✨✨
Capers would be great in there. They add a nice briny bite next to the garlic and onion. And three years with a small kitchen and still cooking good food says a lot. Enjoy it when the remodel is done.
Yummy food. So good for you
Looks delicious, do you burp the jar daily on 1st stage of this method? Mine seem to have developed what it looks like Kahm yeast.
Thanks
If you’re using a tight lid, yes, burp it once a day in Step 1. With a loose lid or a cloth you don’t need to. The white film sounds like kahm. Skim it off, press the mushrooms back under the brine, and keep going. If it’s fuzzy or colored, that’s mold, and you should toss the batch.