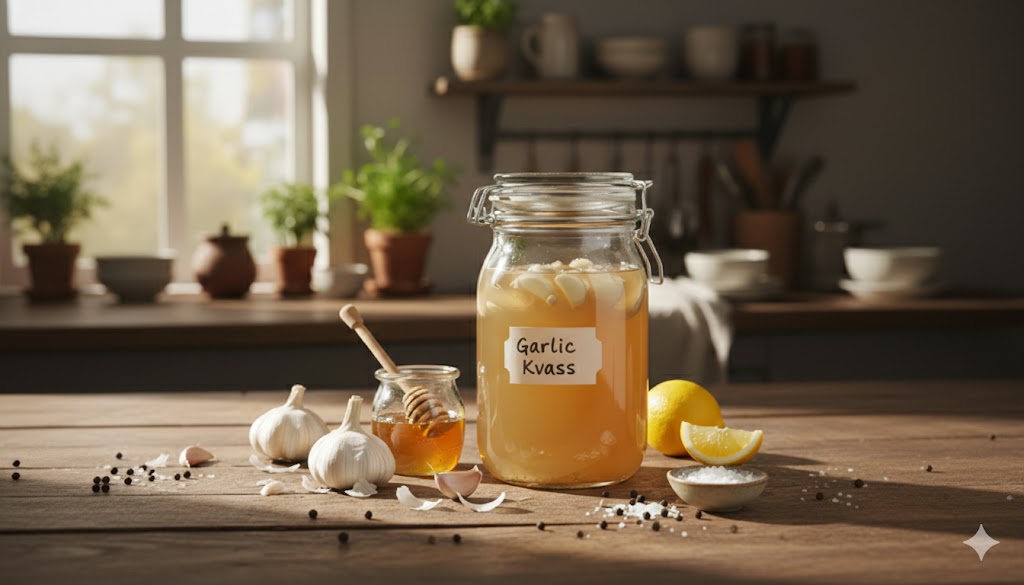
Garlic Kvass: A Potent Fermented Tonic for Gut + Immune Support (1-Gallon Method)
If you love fermentation but want something more functional and more intense than fruity fizz, garlic kvass is the deep end in the best way. It’s a traditional style ferment that turns raw garlic into a mellower, tangy tonic you can sip in small amounts.
What Is Garlic Kvass?
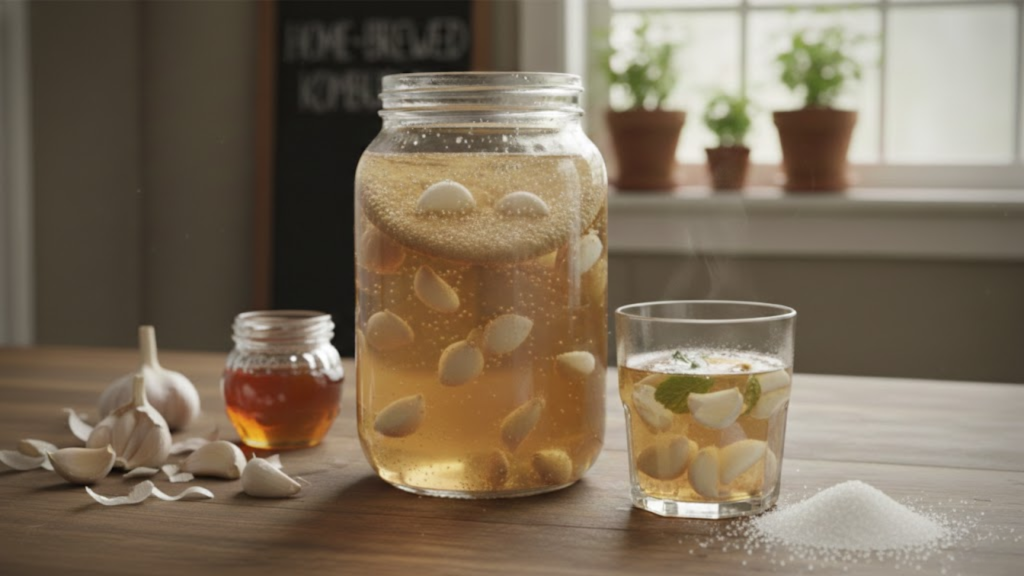
Garlic kvass is a fermented garlic tonic made by combining crushed garlic, sugar, and water, then letting natural fermentation transform the jar over about two weeks.
This isn’t a “drink a whole glass” ferment. Think of it as a small-dose ritual strong, sharp, and surprisingly satisfying once it rounds out.
Note: “Antimicrobial” is a common way people describe garlic, but this is food, not medicine. Consider it a supportive ferment, not a treatment.
Why People Use Garlic Kvass
Garlic kvass is popular for people who want:
- a potent ferment that feels “active”
- a gut-supportive daily ritual (in small amounts)
- something more savory and functional than sweet ferments
The magic is that fermentation often makes garlic feel less harsh than raw while keeping that unmistakable garlic power.
Flavor Profile
Expect:
- strong garlic aroma upfront
- a softening, rounder scent as it ferments
- a tangy, lightly sweet base (honey finishes it well)
- a savory “tonic” feel rather than a refreshing beverage
What You Need (1-Gallon Batch)
Ingredients
- 2 cups peeled garlic
- 1 cup sugar
- Water
- Honey (to finish, to taste)
Equipment
- 1-gallon glass jar
- breathable cover (cloth + rubber band) or a loose lid
- spoon for stirring
- strainer
- bottle/jar for storage
Safety Notes Before You Start
Fermentation should smell clean, sharp, and alive not rotten or moldy.
Keep these basics:
- Use clean equipment
- Cover loosely (don’t seal during the first ferment)
- If you see fuzzy mold or smell putrid/rotting odors, discard and restart
Optional extra safety step: use pH strips. Many people aim for a ferment that’s clearly acidic (commonly below pH 4.6) before taking it regularly.
How to Make Garlic Kvass
This is the traditional-style method, simplified so it’s hard to mess up.
Step 1: Lightly crush the garlic
Lightly crush cloves until they pop, you’re cracking them, not turning them into paste.
Why this matters: cracking helps kickstart extraction and fermentation without making the jar overly harsh.
Step 2: Add garlic to the jar
Add the garlic to your 1-gallon jar.
Step 3: Dissolve sugar in water and fill
In a separate container (or directly in the jar), dissolve 1 cup sugar in water.
Pour into the jar to cover everything, leaving a bit of headspace.
Step 4: Stir once or twice daily
Stir 1–2 times per day to keep fermentation even and prevent surface issues.
Step 5: Ferment ~14 days
Ferment at room temperature for about 14 days.
Start checking aroma and progress around day 7.
Signs of Success (Your Ferment Is On Track)
You’re looking for these markers:
- Garlic sinks (often a great sign)
- Aroma softens over time (less harsh, more rounded)
- Smell stays sharp/clean, not rotten
Cloudiness and sediment can be normal. Fuzzy mold is not.
Finish: Strain + Honey to Taste
When it’s ready:
- Strain the liquid into a clean container.
- Whisk in honey to taste.
Aim for a balance where it’s still “tonic strong,” but not punishing.
How to Take Garlic Kvass (Simple Routine)
Because garlic kvass is potent, start small:
- 1–2 teaspoons daily for a few days
- then increase slowly if it feels good (many people stay under 1–2 tablespoons)
Best timing:
- before meals
- earlier in the day
- or split into small doses
If you’re pregnant, sensitive to garlic, have reflux, or take blood thinners, check with a clinician before making this a daily habit.
Second Batch Method (Faster + More Reliable)
Once you’ve made one successful jar, your next batch gets easier.
What to use as your starter
- ½ cup fermented garlic (from the finished batch)
Second batch method (7–10 days)
- Add ½ cup fermented garlic to your jar
- Add 1 cup sugar + water to fill
- Ferment 7–10 days
- Strain + honey to finish
This “seeded” method usually ferments faster and more consistently.
Common Mistakes (So You Don’t Blame the Recipe)
Crushing too aggressively
If the garlic is pulverized, the kvass can turn too harsh and harder to enjoy.
Sealing the jar during the first ferment
This can create pressure and raises the risk of off outcomes. Cover loosely.
Not stirring early on
Stirring helps prevent surface issues and keeps fermentation even.
Trying to drink it like soda
This is a tonic. Small doses are the point.
Final Words: Why Garlic Kvass Works
Garlic kvass works because fermentation takes something intense and makes it usable. Raw garlic starts sharp and aggressive, then time and microbes soften it into a tangy, savory tonic you can sip in small amounts. No fancy tools, just a clean jar, a little stirring, and patience.
If you want a ferment that feels more functional, more grounding, and less “sweet fizzy drink,” this is one of the simplest strong options to build into your routine.
Want a printable one-page version of this method + a simple “success checklist” you can keep in your kitchen?
👉 Grab the Free Starter Guide here: https://dishbydavid.gumroad.com/l/pickleguide